Everything you need to know when your Saigon+ arrives

When you receive your Saigon+ there will be a number of things to do to set it up and prepare it for riding.
Your ebike comes almost completely assembled, but you will need to straighten and install a few things first. Here is a rundown of how to get your ebike ready and what the bike can do once you’re out on the road.
How to set up your MODMO ebike
Included with your bike, there are 3 boxes. One for the charger, one for the accessories and the third includes the tools you will need to make the final adjustments to the bike.
In the accessories box you will find:
- Spoke reflectors and locking clips
- Your pedals
- A spare front and rear light.
In the tool-kit you will find:
- An allen key tool set with 3 different sizes: M4, M5 and M6
- An eccentric bottom bracket adjustment tool
- A 16mm wrench
- A 15mm wrench

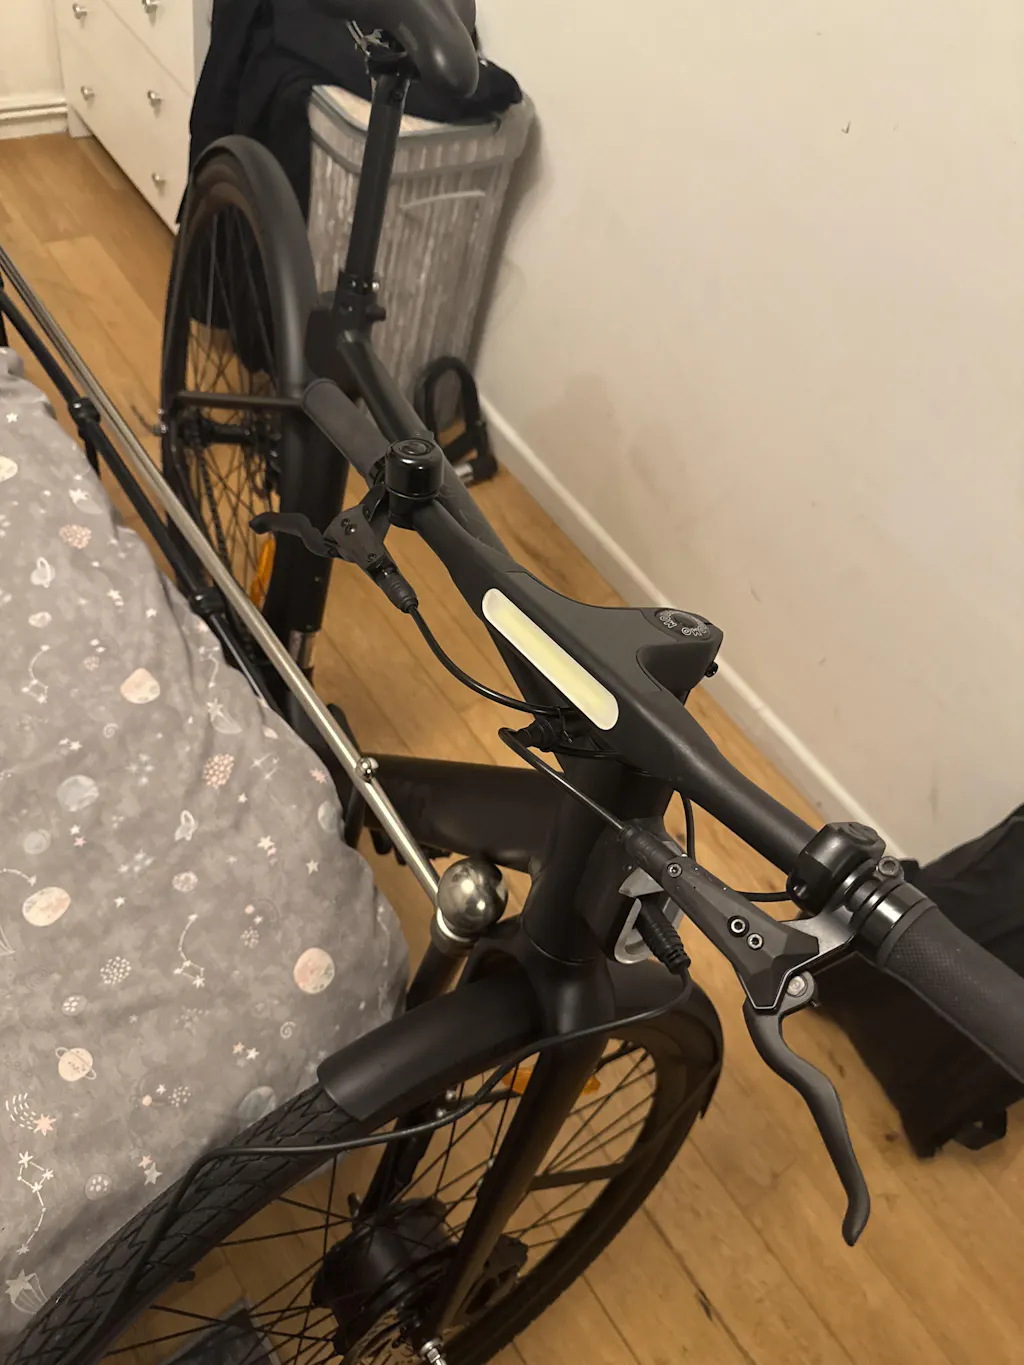
Straighten the Handlebars
Once you’ve taken the bike carefully out of the box, you will notice that the handlebars are at a 90 degree angle. This is done for transportation purposes but of course you will need to adjust these.
Find the M5 allen key that came with your bike and loosen the two screws on either side of the top cap by turning them anticlockwise, and straighten your handlebars until they are perpendicular to the frame.
When you have straightened them, tighten the screws again, making sure that they are secured firmly but not too tight.
Charge the battery
We send all MODMO e-bikes to you with charge, but some charge will have been lost along the way during the shipping process. You will have to power up your e-bike’s battery before riding.
There are two ways to do this.
Option 1: Through the mod-mount

Open the front mod-mount by turning the fastener and sliding off the mod-cap.
You will find a second protective cap underneath that covers the charging port. This layer is magnetic and can be removed easily with the back side of the mod cap.
Plug the battery cable into the frame and watch for the red light on the charger pack to turn green. This indicates that the battery is now fully charged.

Option 2: Remove the battery
Lay your ebike on its side or lift it up and turn it upside down, making sure that there is a soft surface under all the touchpoints to prevent any scratches.

Flip open the protective cap at the base of your bike that secures the battery.
Insert the key that comes with your ebike, turning it clockwise.
Lift the handle on the battery cap up, push the little pin on the side of the tube in.

Then gently pull your battery out anddlug in the charger at the base of the battery. Wait for the red light on the charging pack to turn green which will indicate the battery is fully charged.
Attach the pedals
Next, fix your pedals to your ebike. You will need to make sure that you use the correct pedal for the correct side of the bike. They are marked with an L for Left and an R for Right. The pedal with L on it goes on the side that is to your left when you sit on the bike, and the R goes on the right.

To attach the pedals:
Firstly, we recommend adding a bit of grease to the thread if you have some (where the screws are inserted) to help you put them in smoothly. This is not essential, but is recommended.
Use your hands to wind them into the crank arms. When tightening, make sure that you thread (turn) both pedals towards the handlebar.

Use a 16mm wrench to tighten them - the system is self-tightening as you’re biking so don’t make them too stiff, just make sure they are stable.
Check the tyre pressure
It’s important to check your tyre pressure before you take your MODMO ebike out onto the road. We recommend inflating them to about 35 to 45 psi and checking these at regular intervals to make sure they stay within that range. You will need to use a bicycle pump with a presta valve.
To check the tyre pressure:
Remove the dust cap on the valve of the wheel that you will be adjusting the pressure for. Make sure to leave this somewhere safe as it’s quite small and easily misplaced.
As mentioned above, we use presta valves on our inner tubes. Before attaching the pump, loosen the nipple on the top of the valve to allow airflow into the tube. Then proceed to attach the pump.
Once attached and you have inflated the inner tube to the correct PSI, close the nipple on the valve by twisting clockwise, then re-attach the dust cap

What can the Saigon+ do?
Now that you have your Saigon+ fully assembled, it’s time to take it out onto the street for a ride.
This ebike is designed for the urban rider, ideal for road cycling, and great for a range of activities, from casual cycles with family and friends to your daily commute.
Up to 120km on a single charge
Our Saigon+ ebikes come with a 17.5Ah battery which has, on average, a top range of 120km. This can be pushed to 200km in optimal conditions but you’re more likely to be in the region of a 100-120km range.
Conditions affecting your overall range include: the terrain, your speed, the power levels you select, and even your height. Things like power level (the lower you use, the longer your charge will last), ambient temperature, elevation, etc all have their impact. As a general rule of thumb, you can expect at least a reliable 120km.
Smart handlebar
The Saigon+ is built with a smart display on its handlebars where you can view your speed, battery power, distance cycled and more.
To adjust the view on this, press the button closest to you to cycle through the various options such as:
- Speed: How fast you’re going
- Battery Level: The amount of battery remaining
- Trip: How far you have travelled on this journey Odometer: How far you have travelled overall
Powerful motor, powerful brakes
Ride effortlessly with a 250-Watt motor with 5 power levels, and brake with confidence using the bike’s two dual-piston hydraulic disc brakes.
Effortless gear changes
Change gears smoothly with the Enviolo gear hub. Here is an article that explains the Enviolo hub, how it works and what we have paired it with on our Saigon+.

Fully lit and easily visible
The Saigon+ comes with front and rear lights built into its frame, as well as side lights on the handlebars for extra visibility. The front light is built from two powerful COB LED strips so you can see and be seen.
The rear light, our patented Bekan, is built into the seatpost behind a pattern of holes that have been drilled into the aluminium, allowing light to shine through. There are a total of 36 pores, all anodised to seal the aluminium and prevent any corrosion.
The sidelights on your e-bike’s handlebars are designed to keep you visible from all angles. You can change their colour via your MODMO app - you can choose any colour on an RGB spectrum.
App Connectivity
Finally, the MODMO app. Your Saigon+ links up with your app where you can view a comprehensive range of data on your ride, from calories burned and distance travelled to CO2 saved, as well as stats on your ebike itself. Monitor your bike’s battery power, change the colour of the sidelights, or join a worldwide MODMO leaderboard and push yourself with other MODMO members.
Contact us
If you’re waiting for your Saigon+ and would like an order update, please get in touch with our customer service team at support@modmo.io
If your Saigon+ has already arrived and you need technical support, please get in touch with service@modmo.io